Introduction
Running your first SQL in CloudSQL is quick and easy. If you’ve used tools like SQL Developer or Toad, you’ll find the interface very familiar.
Note: CloudSQL is a Windows executable. You can sign up for a 30-day free trial on the DataFusing website. After registering, download the zip file, unzip it, and launch CloudSQL.exe, no installation is required. Click here to Checkout
In the next section, we’ll walk through how to set up CloudSQL, connect to your database, and run your first SQL query. Step-by-step screenshots are included to make the process easy to follow.
Step-by-Step: Running an SQL with CloudSQL
Step 1 – Launch CloudSQL
Launch the Cloud SQL Desktop application by clicking CloudSQL.exe. A new worksheet will open up. From the Connection list from the top right, launch “Create New Connection” option.

Step 2 – Configure new Connection
Enter your Oracle Fusion connection details on the connection pop up. Provide the Connection Name, URL (Oracle Fusion URL), Username (Oracle Fusion Application username), and Password. Then click on , Test and Create Connection button to complete setting up of the connection.
Note: Please ensure your user account has sufficient roles to create and run BI Publisher reports. Either the BI Author or BI Developer role will be sufficient. If these are not available now, you can request Oracle Fusion administrator for this.

Step 3 – Select the configured connection
Choose the newly configured connection from the Connection list to proceed with establishing the connection to Oracle Fusion database.

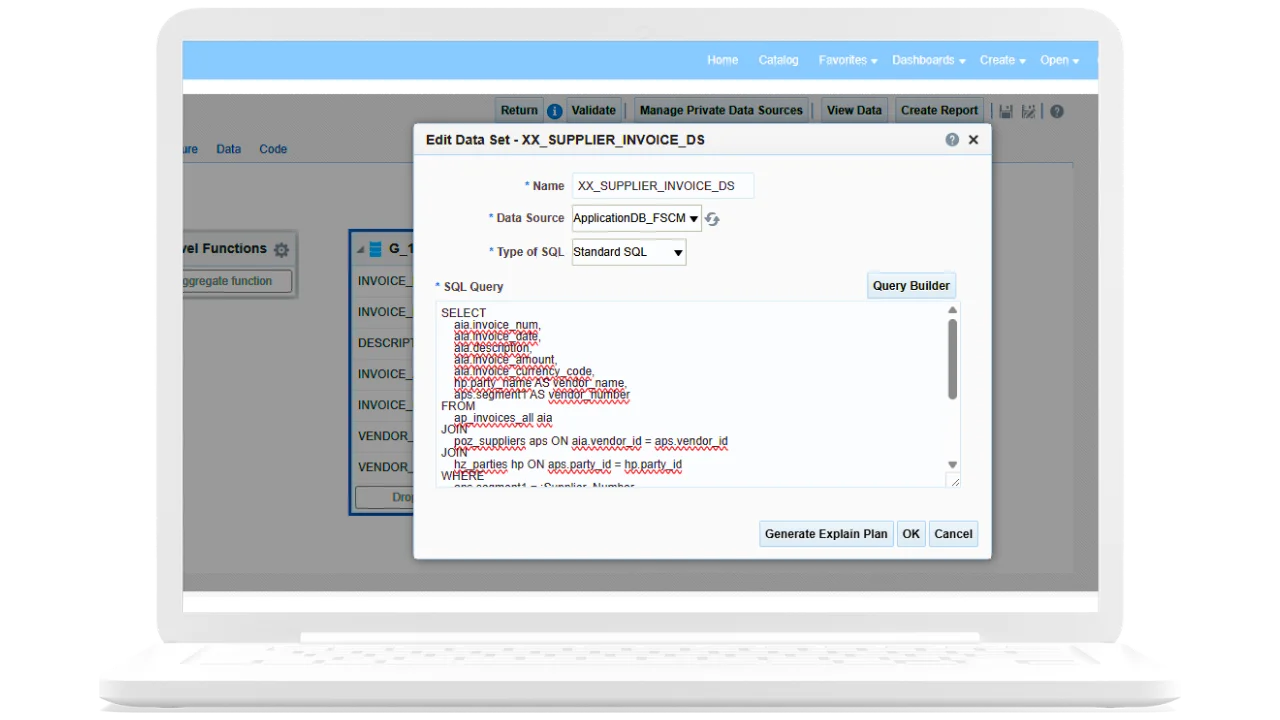
Step 4 – Write and Run your SQL query
Develop your SQL query and click on the run button from the toolbar. Your SQL will be sent to Oracle BI layer for execution and results returned will be populated on the Result Grid below.
Pro Tip: Explore the options in the toolbar such as code formatting, background execution, and auto-completion—to make your work faster and easier

Step 5 – Review the results:
Review the results in the grid by applying features such as Filter, Sort, Group By, and Single Record View.

Step 6 – Export the data:
Click on the Export option to download the data in your preferred format such as CSV or Excel.

Get started today! Register for your Free Trial now and start writing SQL in just minutes.