CloudSQL enables developers to write SQLs in an enhanced user interface and execute SQLs with one click. So what’s next? We understand that developers will want to check the output data.
At DataFusing, we developed CloudSQL Result Grid with the idea that developers should be able to easily find what they are looking for without having to export to Excel for analysis.
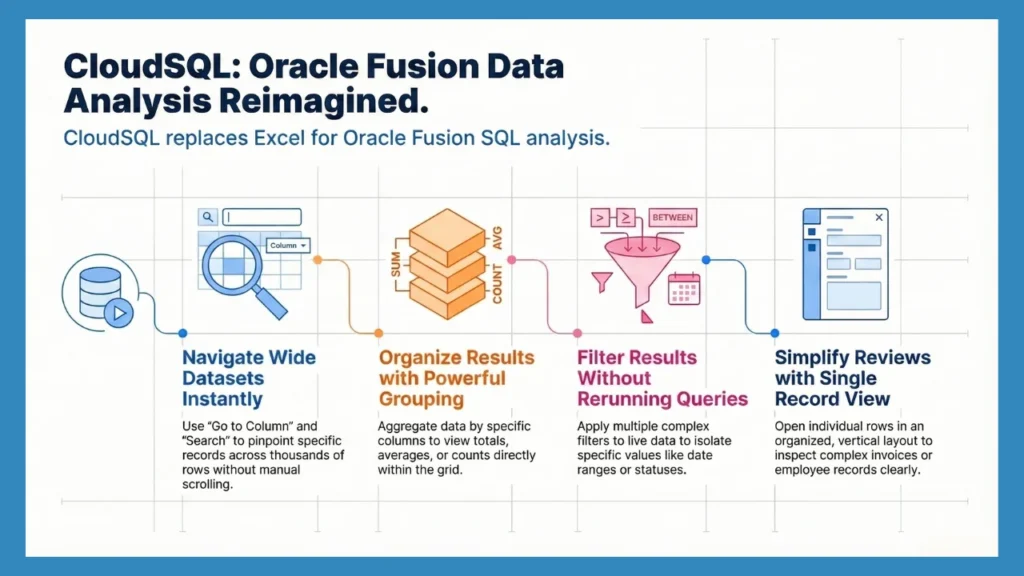
CloudSQL Result Grid is a vibrant workspace explicitly designed for Oracle Fusion developers. It makes it easy to check your data and easily find what you are looking for in the data output.
What Are the Features?
The CloudSQL Result Grid makes it very easy to work with your data. You can quickly sort, filter, group, explore, and export results without any extra steps. Even when you run queries with thousands of Oracle Fusion records, it handles everything smoothly without the limits you see in BI Publisher, giving you a fast and easy workspace with no performance issues. Some of the main features are as follows:
Feature 1: Single Record View
Working with large datasets can sometimes make it tough to zero in on a single record. That’s where CloudSQL’s Single Record View becomes valuable: it opens a selected row in a neat, organized format. Whether you’re looking at an invoice, employee information, or a specific transaction, this view highlights the record for a straightforward review.
Follow the steps below to access it.
Step 1: Write your query in the CloudSQL worksheet, execute it, and select any row from the result.

Step 2: Choose the Single Record View icon to open and review the selected row.

Step 3: View all details of the selected record in a clean layout.

Feature 2: Group By
The Group By feature in CloudSQL helps you organize data by a column and quickly see totals, averages, or counts. It’s useful for making reports or finding trends, like total sales by region, average costs by department, or the number of transactions per supplier.
Follow the steps below to use it.
Step 1: Select the column you want to group by.

Step 2: Open the three-dot menu and choose Group By.

Step 3: View the grouped column in the results panel.

Step 4: Choose the Expand All Groups option to see all records within each group.

Suggested Read: Bind Variables Support for Oracle Fusion SQLs in CloudSQL
Feature 3: Search Through Results
Manually sifting through thousands of rows to find a single piece of data can really eat up your time. But with the Search Through Result feature, you can quickly pinpoint exactly what you need by simply typing a keyword or value into the search bar.
Just type in what you’re after, like a transaction ID, supplier name, or record code, and CloudSQL will automatically filter the matching rows for you in real time.
Follow these steps to use this feature.
Step 1: After running your query, go to the Search in Result option in the result grid.

Step 2: Enter a number, name, or keyword to filter and view the matching columns.

Feature 4: Go to Column
Wide tables with lots of columns can be a bit of a hassle. The Go to Column feature simplifies this process. You can easily jump to any column you need just type in the column name, and CloudSQL will whisk you right there in no time.
Follow these steps to use this feature.
Step 1: Execute your query and click on the Go to Column icon on the top of the result grid.

Step 2: Type the column name in the search bar to quickly jump to it in the result grid.

Step 3: View the result for that specific column in the grid.

Feature 5: Filter Option
The Filter feature helps users narrow down data with pinpoint accuracy all without rewriting or rerunning SQL queries. You can apply multiple filters directly within the Result Grid to view only the records that match specific criteria.
For example, filter by date range, approval status, region, or numeric values. Want to see (Approved) invoices above ₹1,00,000 from last month. Apply a quick filter, and CloudSQL instantly displays just those rows.
Step 1: Execute your query and choose the Filter icon from the required column in the result grid.

Step 2: Choose the Text Filter option.

Step 3: Enter the filter criteria correctly and then click OK to apply it and view only the matching rows.

Feature 6: Sort Option
Sorting data is an easy way to find insights. CloudSQL lets you sort any column in ascending or descending order. Use it to see the highest or lowest values, or the latest or oldest entries.
Follow these steps to use this feature.
Step 1: Select a column and open the three-dot menu.

Step 2: Choose one of the Sort options: Ascending or Descending as needed.

CloudSQL lets the developers review the results without having to export to third-party applications. At DataFusing, we are constantly improving CloudSQL for you by adding more and more features. Click here to start 30 Days Free Trial today.
Also Read: Direct BI Server Integration