
Connections
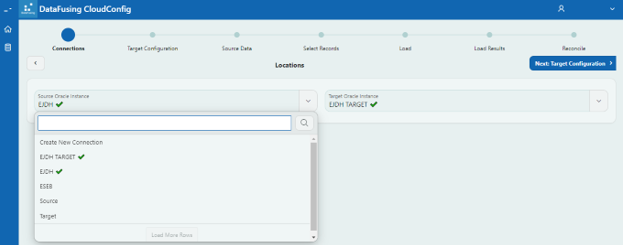
‘Connections’ is the first step of the migration wizard.
Source Oracle Instance: Select your source instance or the instance from which you need to migrate data from the dropdown menu. If you have not created the connection before, click on ‘Create New Connection’ to create a new one.
Target Oracle Instance: Select your target instance or the instance to which the data needs to be migrated from the dropdown menu. If you have not created the connection before, click on ‘Create New Connection’ to create a new one.
When you click on the ‘Create New Connection’ and a dialogue page pops as shown below
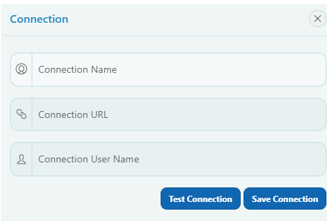
Connection Name: Name given by the CloudConfig user to identify an instance.
Connection URL: This is your Oracle fusion instance URL. Please note this is not the login page URL
eg: Connection URL: https://ejdh-dev1.fa.em2.oraclecloud.com/ and the Login URL is https://ejdh-dev1.login.em2.oraclecloud.com/oam/server/obrareq.cgi?encquery.
Connection User Name: Oracle fusion instance username
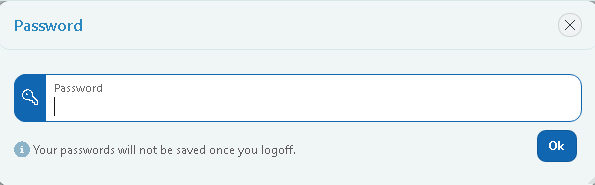
Test Connection: The test connection button will authenticate the connections details. A popup box will appear to enter the password. (Passwords will only be stored for the current session).
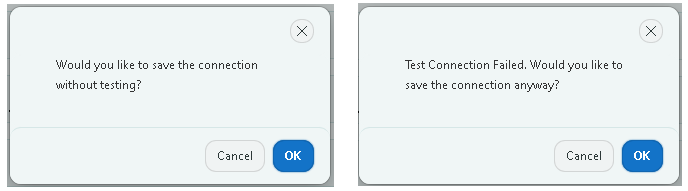
Save Connection: Provide the connection details and click on the ‘Test Connection’ button. Save the connection after the test is successfully completed. If you try to save a connection without testing it you get a warning popup also.
A new connection can also be created by clicking ‘Connections’ from the side menu
After choosing both the source instance and target instance, click on the ‘Next: Target Configuration’ button to continue to the next step.